
Uyuni Salt Flats Photos: Photo Ideas and Where to Stand
Uyuni salt flats photos: the hexagons, the mirror, perspective photos, twilight and where on the salt each picture works.
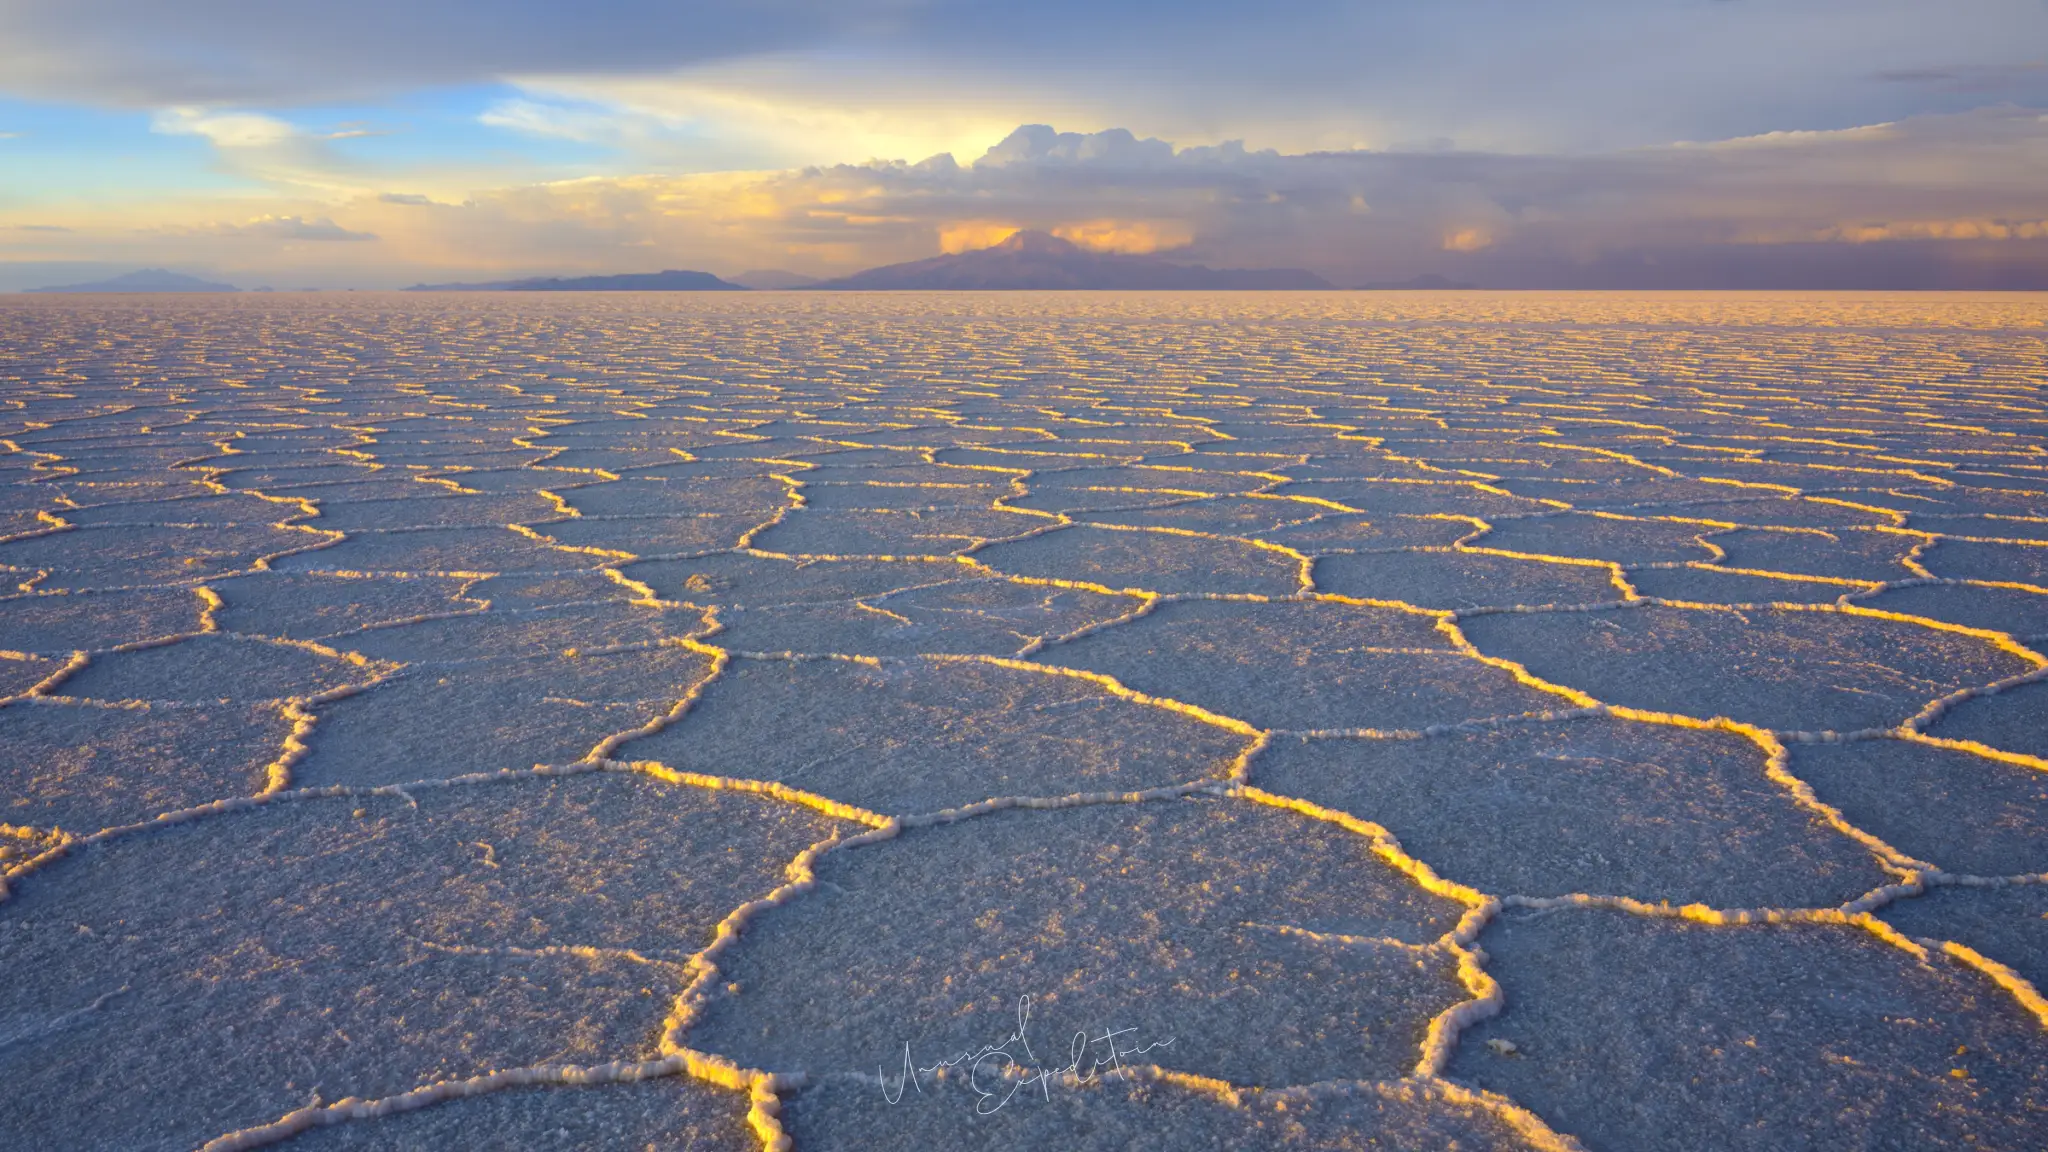
Uyuni salt flats photos come in three kinds: the dry crust broken into raised hexagons, the mirror of standing rainwater that doubles the sky, and the empty white plain used for scale and perspective tricks. All three are made on the same Salar de Uyuni, often in the same week, and what decides between them is water, sun angle and where you stand. Here is what each picture needs, with frames from our own trip on the salt.
For the wider area, the lagoons and the geysers to the south, start with our Uyuni photography tour guide. The photographs in this destination guide are our own, taken on our trips here; we hold the rights to them, and the notes come from knowing the salt flat first hand.
Uyuni salt flats photos: what the salt really looks like
The Salar de Uyuni is not a smooth white sheet. Close up, the salt is a rough crust, grey-white, gritty and slightly damp underfoot in the wetter months. What gives it form is the network of ridges, a few centimetres high, that the crust builds as water evaporates and the salt recrystallises. From standing height the ridges read as a pattern of polygons, most of them five- or six-sided, running out to the horizon. NASA's Earth Observatory describes a surface so level that it is used to calibrate satellite instruments. Seen from far away, the flat turns into a band of white between the sky and a line of distant volcanoes and islands. The colour changes with the hour more than with anything else: blue-white at midday, warm cream and gold near sunset, lilac and slate after dark. Bright sun on the salt fools a light meter, so add exposure or check the histogram, or the white will come out grey.
Uyuni salt flats photo ideas: the hexagons
The hexagon pattern on the Salar de Uyuni is the photo most people want and the one most often shot badly. From eye level and in high sun, the ridges vanish into a flat white field. Two things fix it. First, height: crouch or kneel so the camera sits a hand or two above the salt and the nearest polygon fills the bottom of the frame. Second, side light: in the last hour before sunset the low sun catches the edge of every ridge, and the pattern stands up in gold lines against blue shadow, as in the frame at the top of this page. A 16-35mm lens at its wide end with the horizon high in the frame gives the classic receding pattern. Focus about a metre in front of the lens and stop down for depth. The crust is sharpest in the dry season; after rain the ridges soften and some areas lose them altogether.
Uyuni salt flats perspective photos
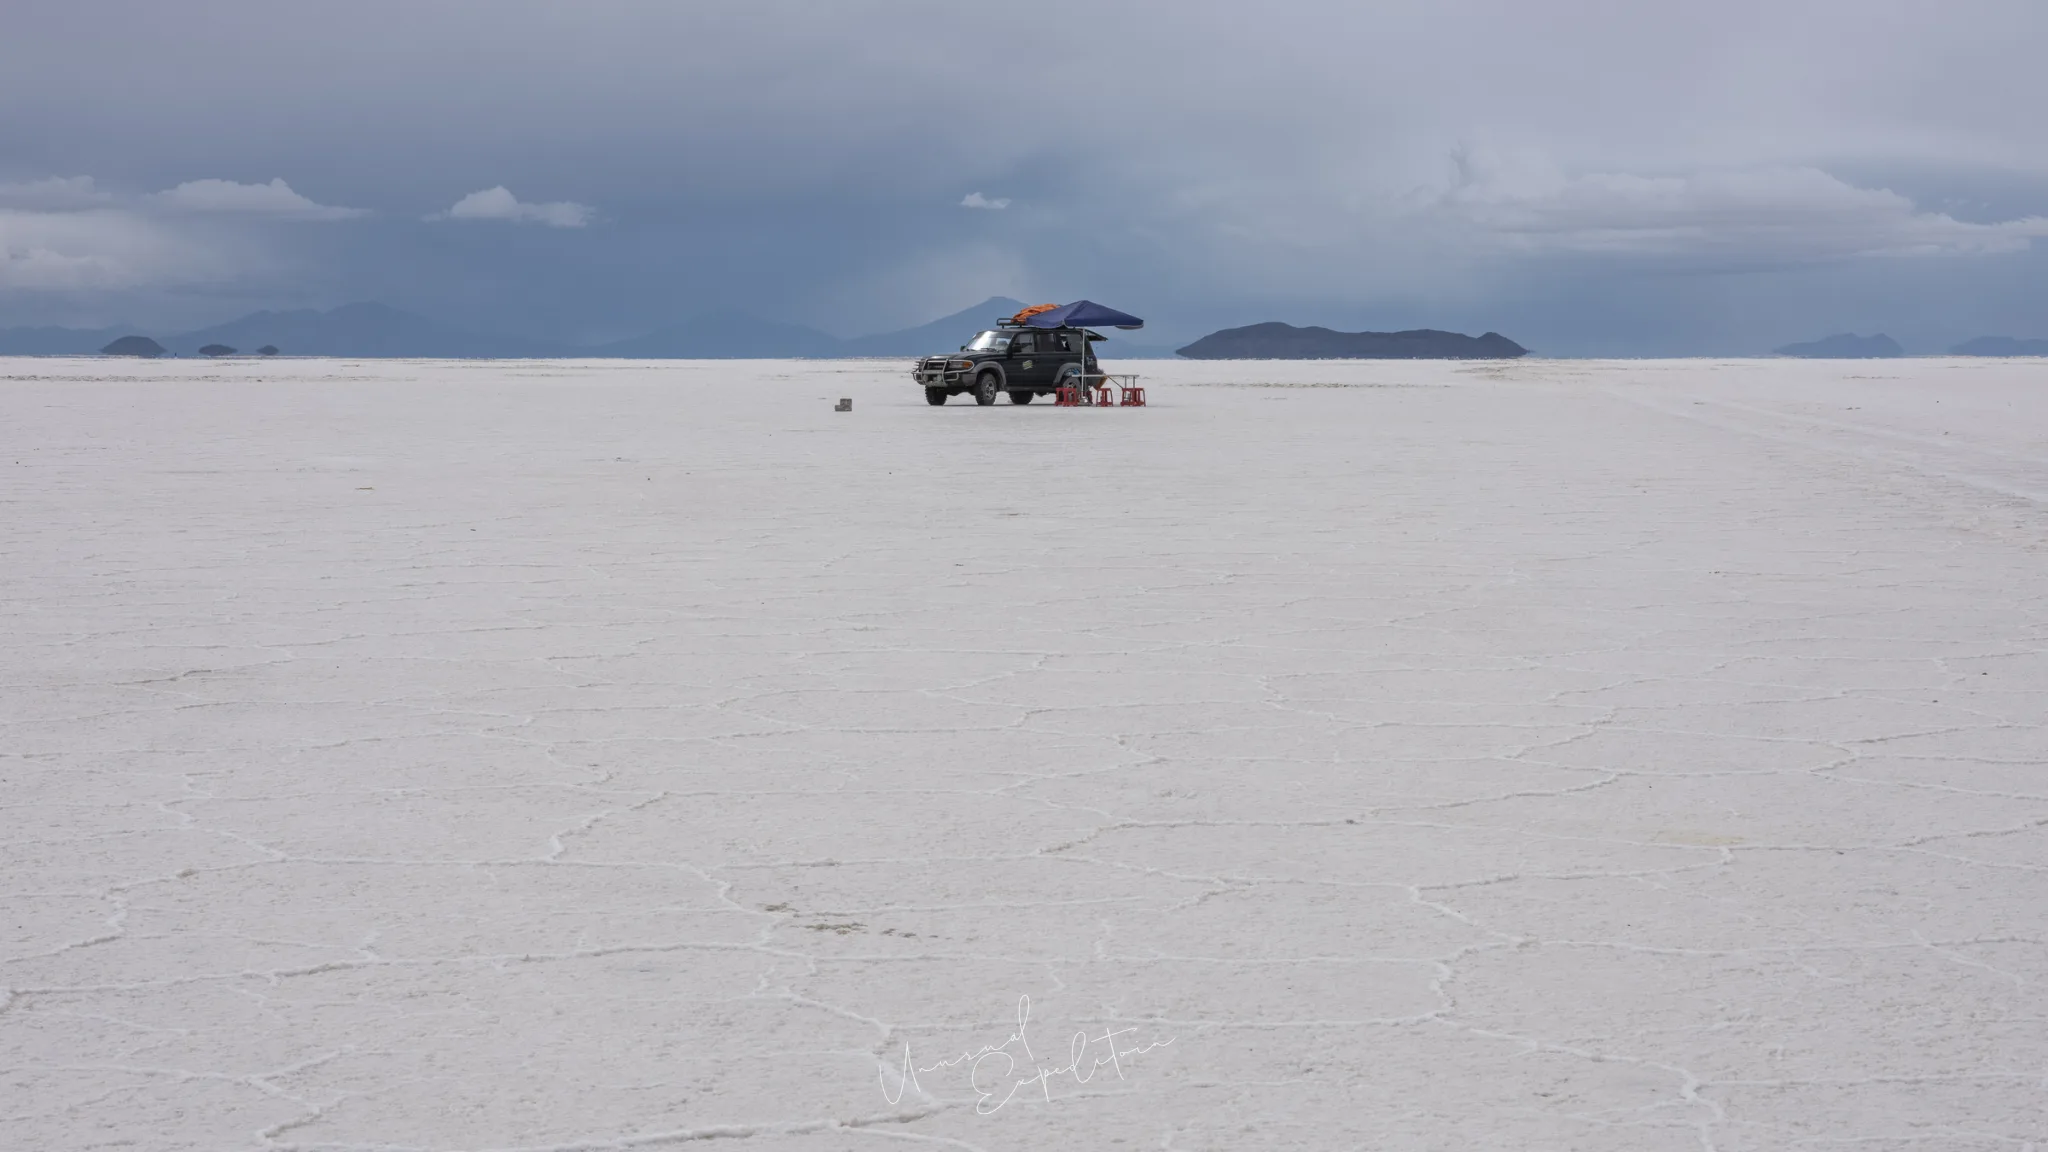
Uyuni salt flats perspective photos, the ones where a person stands on a bottle or walks out of a shoe, work because the flat has no visual cue for distance. With nothing between the lens and the horizon, an object close to the camera and a person thirty metres behind it can line up as if they were the same size. Wide-angle lenses fight this; a 24-70mm at the long end, or a phone zoomed slightly, lines things up more easily. Keep the camera on the ground, focus on the far subject and use a small aperture so both are sharp. Midday works for these, which is lucky, because it is the worst hour for almost everything else on the salt. We do a few for fun and then move on: the pictures that last from a Uyuni trip are usually the quieter ones, like a single vehicle under a storm sky, which shows the size of the place without a trick.
Salar de Uyuni mirror location: where the reflection forms
There is no fixed Salar de Uyuni mirror location. The reflection forms wherever rain has pooled a few centimetres deep on the salt, and that changes from week to week with the weather. In the wet season local drivers know which parts of the flat hold water, and they also know which tracks are too deep to cross; following their judgement is part of the trip. In the drier shoulder months the mirror shrinks to patches, which can be more interesting: a dry island of crust in the foreground and a strip of reflected sky behind it. The cleanest reflections come when the wind drops, which on the Altiplano is most often at dawn and in the last light of the evening. Rubber boots, a cloth for the lens and a bag you can stand in the water are worth more than any filter. The best time to visit Uyuni salt flats article sets out when the mirror is most likely.
"Everyone arrives wanting the mirror. Some of my favourite frames from the salt came from the edge of the water instead, where the crust breaks up and the sky sits in the gaps. Walk along that edge before you set up."
Joseph Mak, tour leader, Unusual Expedition
Uyuni salt flats photography: a quick reference
| Photo | Where on the salt | Light | Lens |
|---|---|---|---|
| Hexagon pattern | Dry crust, away from the tracks | Low side light before sunset | 16-35mm, camera low |
| Mirror reflection | Standing water, a few centimetres deep | Dawn, dusk, no wind | 16-35mm or 24-70mm |
| Crust and water edge | Where a wet patch meets dry salt | Twilight | 16-35mm |
| Vehicle or figure for scale | Open flat, nothing behind | Any, best under cloud | 24-70mm or 70-200mm |
| Perspective tricks | Dry, flat crust | Midday | 24-70mm at the long end |
| Isla Incahuasi cacti | The island in the middle of the flat | Morning or cloud | 24-70mm |
Half the list depends on whether there is water on the salt, which is why we decide the season before anything else.
Uyuni salt flats at twilight and night
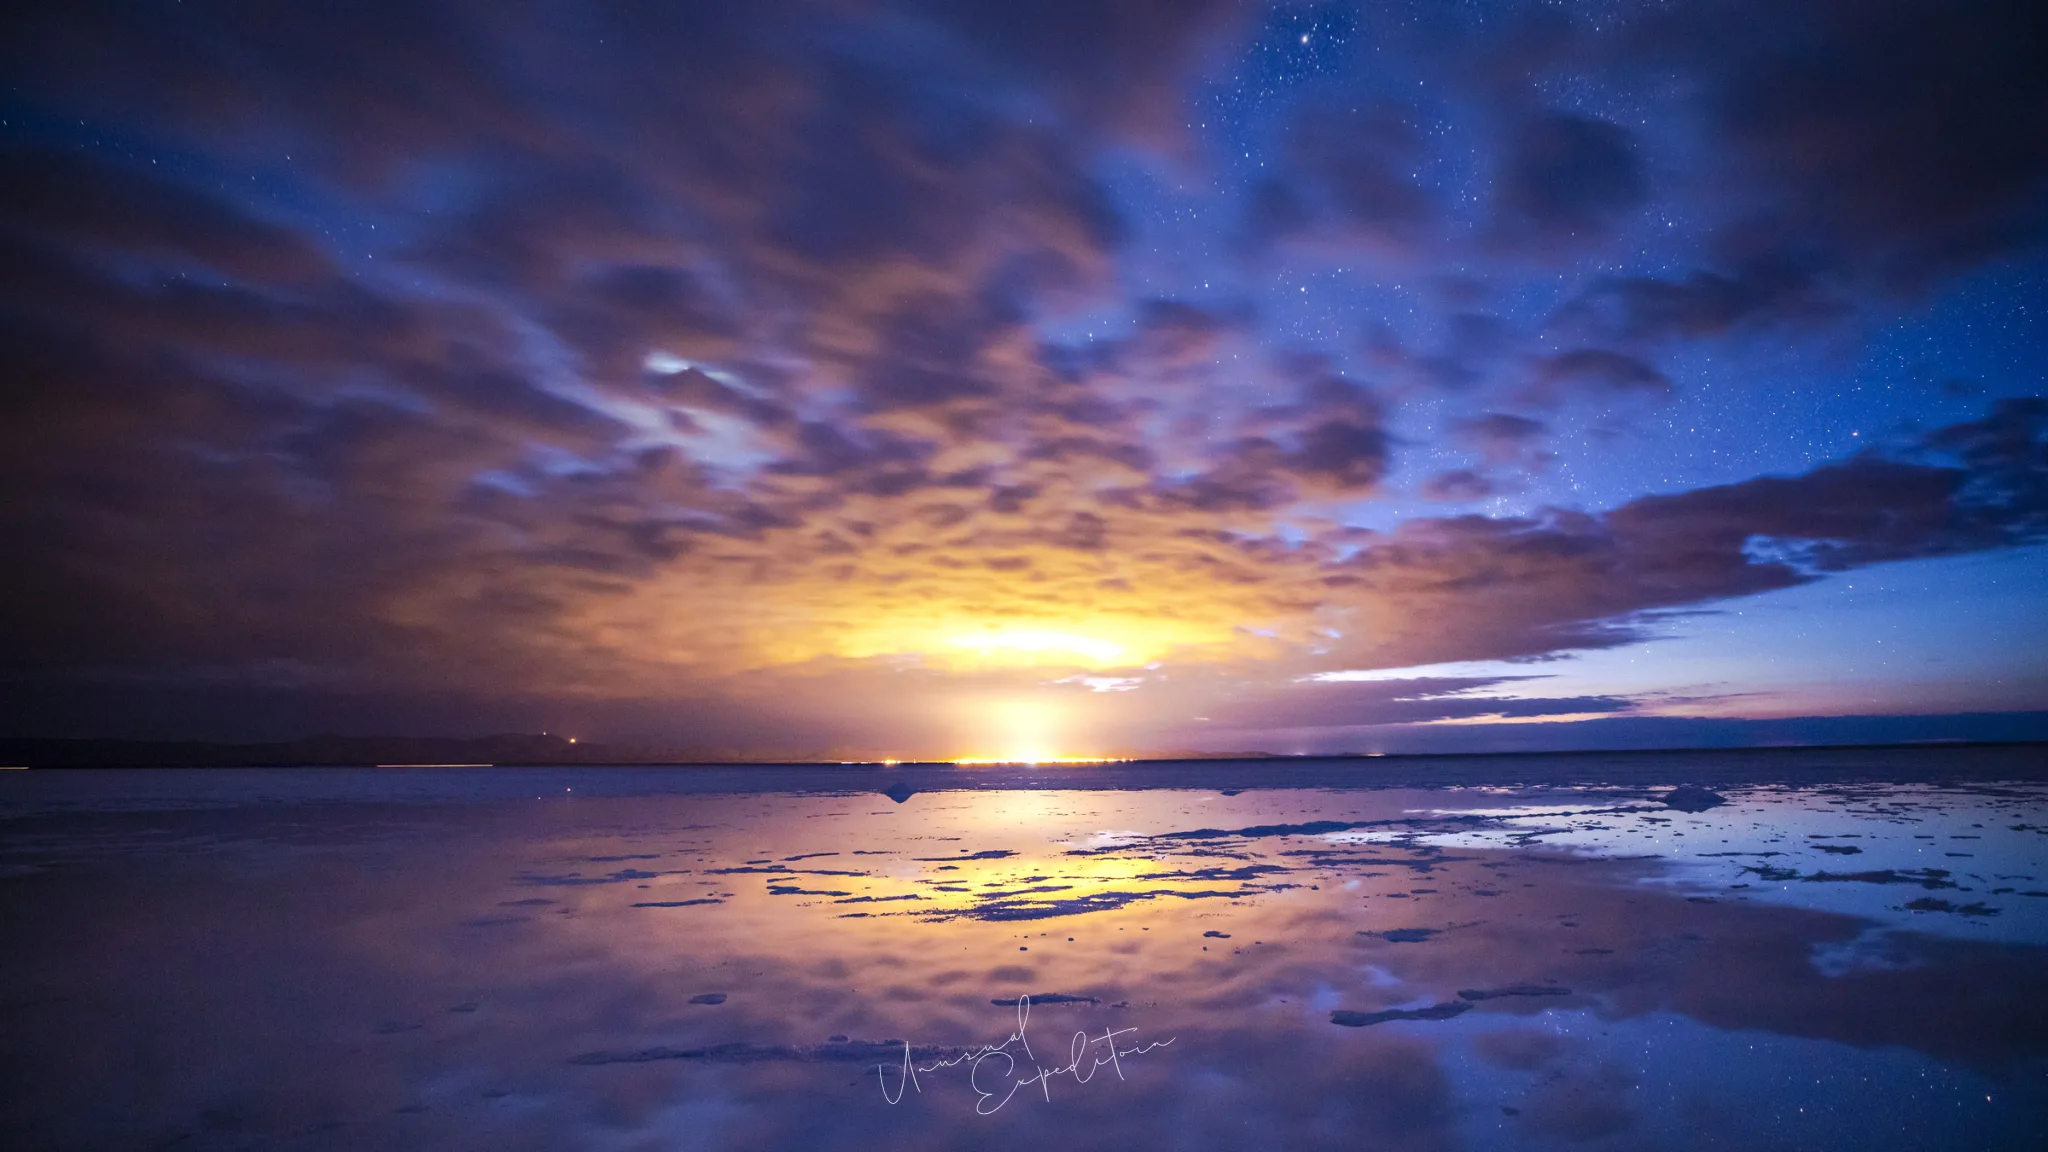
The twilight frames are what most people take home from the Uyuni salt flats without expecting to. After sunset the sky over the flat holds colour, and wet salt reflects it, so a tripod and a few long exposures give pictures that look nothing like the midday white. Before dawn, with the stars still out, the same water can carry both the first glow on the horizon and the last stars, as in the frame above. A 30-second exposure at a wide aperture and a high ISO is the usual start point. Cold is the real challenge: the salt sits at about 3,656 metres, by Britannica's figure, and nights are below freezing for much of the year. Our Uyuni sunset and night sky article has the settings and where to set up.
What else to photograph around the salt
A Uyuni salt flats trip rarely stays on the salt. Isla Incahuasi, the cactus-covered hill in the middle of the flat, is a short stop on most routes, and our is Uyuni salt flats worth it article covers it with the practical side of getting there. South of the flat, the lagoons with their flamingos and the steaming Sol de Mañana field change the palette completely, from white to red, lilac and sulphur yellow. If you are short of time, the salt alone is worth the journey; if you can add the south, the trip becomes a different kind of photography altogether.
Come and photograph the salt with us
We run Uyuni as a private trip on request, at your pace and around the pictures you want, with all the logistics arranged for you. The cost can be lower than a group tour because no tour leader travels, and a photographer or coaching can be added at extra cost. Ask us at least two months ahead where you can. Read more on private tours and see what we offer on our Bolivia photography tours page.
Ask us about the Uyuni salt flats
Uyuni photography tours
The next Uyuni departure is announced on the Uyuni photography tours page, with previous expeditions and all the planning guides.
Explore Uyuni in depth
- Uyuni Photography Tour: The Salt Flats, Lagoons and GeysersBolivia
- How to Get to Uyuni Salt Flats: Visa, Flights, Altitude and MoneyBolivia
- Is Uyuni Salt Flats Worth It? Isla Incahuasi and How to Get ThereBolivia
- Sol de Mañana Geysers: Photographing Bolivia's Highest Geothermal FieldBolivia
- Laguna Colorada Flamingos: Where to See Flamingos in BoliviaBolivia
- Uyuni Sunset, Sunrise and Night Sky: Photographing the Salt Flats After DarkBolivia
- Best Time to Visit Uyuni Salt Flats: Mirror Season or Dry SeasonBolivia
Upcoming Photo Tours
- Egypt Photo Tour – EgyptEgypt 12 Dec 2026 To 20 Dec 2026
- Inner Mongolia Winter Owl Photo Tour – ChinaChina 01 Jan 2027 To 04 Jan 2027
- Inner Mongolia Winter Photo Tour – ChinaChina 05 Jan 2027 To 11 Jan 2027
- Mekong And Central Highland Vietnam Photo Tour - VietnamVietnam 16 Jan 2027 To 24 Jan 2027